소개
잘못된 것을 선택하는 것 LCD 크기 문제로 인해 기계적 설계를 완전히 다시 해야 할 수도 있습니다. 해상도를 잘못 선택하면 텍스트가 흐릿해지고, 아이콘이 뾰족뾰족해지며, 제품이 미완성된 듯한 인상을 주게 됩니다. 모든 하드웨어 엔지니어와 제품 관리자는 한 번쯤은 이러한 딜레마에 직면해 본 적이 있습니다.
이 4,000단어 분량의 가이드에서는 체계적인 의사결정 프레임워크를 제시합니다. 이 가이드를 통해 다음 내용을 배우게 됩니다:
- 화면 크기는 어떻게 측정되는가 (그리고 대각선 길이만으로는 오해를 불러일으킬 수 있는 이유).
- 해상도와 PPI(인치당 픽셀 수)의 진정한 의미.
- 크기, 해상도, 비용, 성능을 어떻게 균형 있게 조정할 것인가.
- 일반적인 용도에 권장되는 크기-해상도 조합.
- 주어진 시청 거리에서 필요한 최소 PPI를 계산하는 방법.
- 흔히 저지르는 실수와 이를 피하는 방법.
무료 LCD 크기/해상도 선택 스프레드시트 (Excel)이 포함되어 있습니다. 시청 거리와 원하는 PPI를 입력하면, 당사의 표준 제품 라이브러리에서 가장 적합한 제품을 추천해 드립니다.
인터페이스가 해상도 선택에 어떤 영향을 미치는지 더 자세히 알아보려면 당사의 “TFT-LCD 인터페이스에 대한 종합 가이드”.
1부 – 기본 개념: “크기”와 “해상도”가 실제로 의미하는 것
1.1 크기: 대각선 인치에 대한 진실
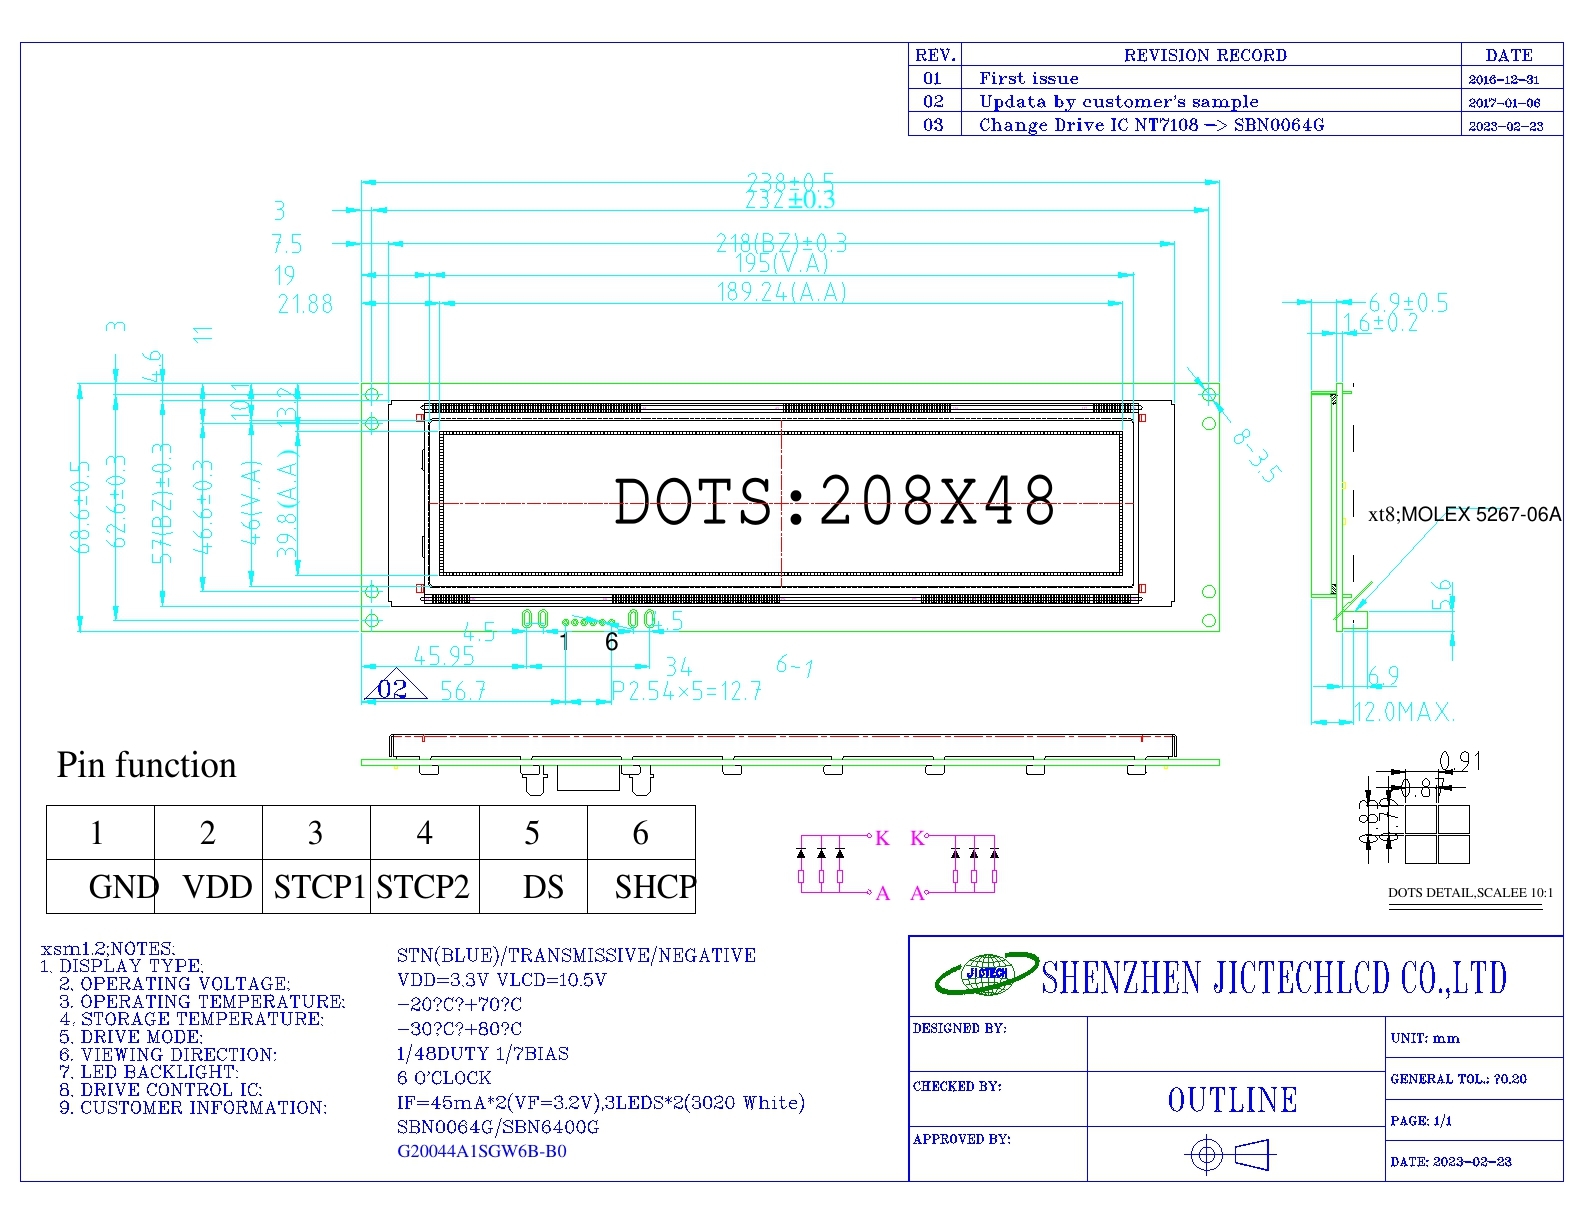
LCD의 “크기”는 대각선의 길이를 인치(1인치 = 25.4mm) 단위로 측정한 값을 말합니다. 이는 업계 표준이지만, 오해를 불러일으킬 수도 있습니다.
왜 대각선만으로는 충분하지 않은가
대각선 길이가 같은 두 디스플레이라도 성능이 매우 다를 수 있습니다. 화면비 (4:3, 16:9, 16:10, 5:4). 7인치 16:9 화면은 7인치 4:3 화면보다 폭이 훨씬 넓고 높이가 훨씬 낮습니다. 항상 기계 도면을 확인하십시오.
대각선을 구하는 방법
mm 단위의 유효 영역 너비(W)와 높이(H)를 알고 있다면:
\[
\text{크기 (인치)} = \frac{\sqrt{W^2 + H^2}}{25.4}
\]
[내부 링크: 당사의 LCD 기계 도면 라이브러리를 살펴보세요. 각 제품 페이지에는 치수 도면이 포함되어 있습니다.]
1.2 해상도: 픽셀 매트릭스
해상도는 가로 픽셀 수 × 세로 픽셀 수로 표시되며, 예를 들어 800×480.
일반적인 해결 단계
| 해상도 | 이름 | 일반적인 크기 범위 | 일반적인 용도 |
|---|---|---|---|
| 128×64 | – | 0.96인치 – 2.4인치 | 단색, 심플한 UI |
| 320×240 | QVGA | 2.4인치 – 3.5인치 | 기본 색상, 저가형 기기 |
| 480×272 | WQVGA | 3.5인치 – 5인치 | 휴대용 기기, 가전제품 |
| 800×480 | WVGA | 5인치 – 7인치 | 산업용 HMI, POS |
| 1024×600 | WSVGA | 7인치 – 10.1인치 | 산업용, 태블릿 스타일의 사용자 인터페이스 |
| 1280×800 | WXGA | 8인치 – 12.3인치 | 자동차, 고급 HMI |
| 1920×1080 | 풀 HD (FHD) | 10.1인치 – 21.5인치 | 의료용 모니터, 게임용 |
1.3 PPI(인치당 픽셀 수) – 진정한 선명도를 나타내는 지표
PPI는 픽셀이 얼마나 조밀하게 배열되어 있는지를 나타냅니다. 이는 선명도를 측정하는 유일한 실질적인 기준입니다.
수식
\[
\text{PPI} = \frac{\sqrt{\text{가로 픽셀}^2 + \text{세로 픽셀}^2}}{\text{대각선 인치}}
\]
예
해상도 800×480인 7인치 디스플레이:
√(800² + 480²) = √(640,000 + 230,400) = √870,400 ≈ 933
933 / 7 ≈ 133 PPI
용도별 권장 PPI
| 애플리케이션 | 일반적인 시청 거리 | 권장 PPI |
|---|---|---|
| 산업용 HMI | 50–100 cm | 80 – 120 |
| 휴대용 의료기기 | 30~40 cm | 150 – 250 |
| 스마트폰 | 20–30 cm | 300+ |
| TV / 모니터 | > 100 cm | 60 – 80 |
| 자동차 | 60–80 cm | 120 – 180 |
경고
PPI 수치가 높다고 해서 항상 좋은 것은 아닙니다. 이는 다음을 증가시킵니다:
- 대역폭 요구 사항 (LVDS나 MIPI와 같은 더 빠른 인터페이스가 필요함).
- 호스트 처리 성능 (더 큰 프레임 버퍼, 더 많은 GPU 부하).
- 백라이트 전력 (픽셀 밀도가 높을수록 개구율이 낮아집니다).
- 비용 (더 비싼 집적회로, 낮은 제조 수율).
2부 – 크기와 해상도 간의 상충 관계
2.1 크기를 고정시킨 상태에서 해상도를 높이면 어떻게 될까요?
장점
- 더 선명한 이미지.
- 화면에 더 많은 콘텐츠가 표시됩니다(예: 데이터 표의 행 수가 늘어납니다).
비용
- 인터페이스 대역폭이 높아지면 → RGB에서 LVDS 또는 MIPI로 전환해야 할 수도 있습니다.
- 더 큰 프레임 버퍼 → 외부 RAM이나 더 고성능의 MCU가 필요할 수 있습니다.
- 개구율 감소 → 투광률 저하 → 더 밝고(더 뜨거운) 백라이트가 필요함.
- IC 비용 상승 및 수율 하락 → 동일한 크기에서 WVGA에서 WXGA로 전환 시 모듈 가격이 20‑50% 상승합니다.
2.2 고정된 해상도에서 크기를 늘리면 어떻게 될까요?
장점
- 활성 영역이 넓을수록 → 터치 대상 선택이 더 쉬워지고, 고령 사용자의 가독성이 향상됩니다.
- 동일한 소프트웨어 UI는 변경 없이도 작동합니다.
비용
- PPI 하락 → 픽셀이 눈에 띄게 됩니다(“스크린 도어 효과”).
- 더 큰 화면에서 같은 해상도로 보면 화질이 뭉개지고 톱니 모양으로 보입니다.
- 백라이트 균일성을 확보하기가 더 어려워집니다(더 많은 LED가 필요하고, 핫스팟 발생 위험이 높아집니다).
2.3 최적의 조합: 용도별 크기 대 해상도
| 애플리케이션 | 사이즈 범위 | 권장 해상도 | 대략적인 PPI | 일반적인 인터페이스 | 시야 거리 |
|---|---|---|---|---|---|
| 스마트워치 | 1.2인치 – 1.8인치 | 240×240 또는 390×390 | 250 – 300 | MIPI / SPI | 30 cm |
| 휴대용 의료기기 | 3.5인치 – 5인치 | 480×320 또는 800×480 | 150 – 200 | MCU / RGB | 40 cm |
| 산업용 HMI | 7인치 – 10.1인치 | 800×480 또는 1024×600 | 100 – 120 | RGB / LVDS | 60 cm |
| 차량용 인포테인먼트 | 8인치 – 12.3인치 | 1280×800 또는 1920×1080 | 120 – 180 | LVDS / MIPI | 70 cm |
| 가전제품 | 2.4인치 – 5인치 | 320×240 또는 480×272 | 120 – 150 | MCU / SPI | 50 cm |
| POS / 계산대 | 5인치 – 7인치 | 800×480 또는 1024×600 | 150 – 200 | RGB / LVDS | 50 cm |
| 대형 모니터 | 15.6인치 – 21.5인치 | 1920×1080 | 80 – 100 | LVDS / eDP | 80 cm |
3부 – 시청 거리에 따른 최소 PPI 계산 방법
3.1 레티나 공식 (간단화)
애플의 “레티나” 개념에 따르면, 일반적인 시청 거리에서 사람의 눈으로 개별 픽셀을 구분할 수 없을 때 디스플레이의 선명도가 충분히 높은 것으로 간주된다. 사람의 눈이 식별할 수 있는 각도 해상도의 한계는 약 1분각(1/60도)이다.
이를 통해, 필요한 최소 PPI 주어진 시청 거리(인치 단위)에 대한 값은 다음과 같습니다:
\[
\text{최소 PPI} = \frac{3438}{\text{시청 거리 (인치)}}
\]
왜 3438인가요?
이는 다음 식에서 유래합니다: 1 / tan(1 분) ≈ 3438. 이 공식은 시력이 20/20인 경우를 가정합니다.
3.2 예시
| 시야 거리 (cm) | 시청 거리 (인치) | 최소 PPI | 대표적인 적용 분야 |
|---|---|---|---|
| 30 cm | 11.8인치 | 291 | 스마트워치, 휴대폰 |
| 40 cm | 15.75인치 | 218 | 휴대용 기기 |
| 60 cm | 23.6인치 | 146 | 산업용 HMI, 자동차 |
| 80 cm | 31.5인치 | 109 | 데스크톱 모니터 |
| 100 cm | 39.4″ | 87 | TV |
3.3 허용 가능한 PPI 대 이상적인 PPI
- 산업용 / 의료용: 최소 PPI만 충족하면 충분합니다. 이를 초과하면 실질적인 이득 없이 비용만 증가합니다.
- 가전 제품: “프리미엄”한 느낌을 원한다면, 최소 기준보다 20‑30% 더 높은 수치를 목표로 하세요.
대화형 도구
당사는 온라인 계산기를 제공합니다: 시청 거리(cm)를 입력하면 → 권장 PPI 범위와 이에 맞는 LCD 모델을 확인할 수 있습니다.
4부 – 용도별 심층적인 제품 선택 가이드
4.1 휴대용 및 웨어러블 기기 (소형, 높은 PPI)
주요 제약 사항
- 전력 소비량 (배터리 사용 시간).
- 기계적 두께.
- 호스트 프로세서 성능 (대개 저전력 MCU).
권장 사항
- 인터페이스: MIPI DSI(저전력) 또는 SPI(매우 낮은 해상도).
- PPI: 200 – 300.
- RGB 인터페이스는 사용하지 마세요. 배터리가 빨리 소모됩니다.
흔히 저지르는 실수
저사양 MCU에 고해상도 패널(예: 4인치 화면에서 1080p)을 사용하는 경우. MCU가 프레임 버퍼를 구동할 수 없어 UI가 느려집니다.
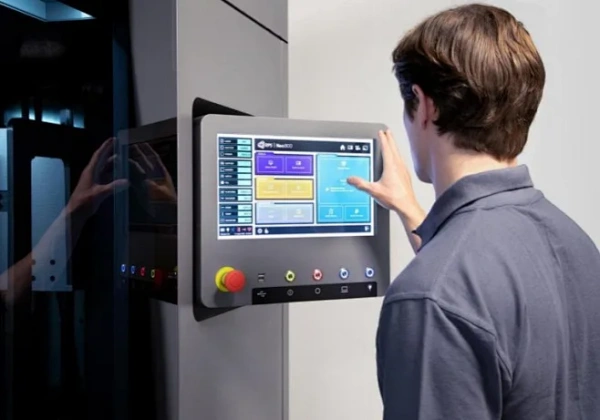
4.2 산업용 HMI (중형, 중간 PPI, 광범위한 작동 온도 범위)
주요 제약 사항
- 신뢰성 (연중무휴 24시간 가동, 진동, 먼지).
- 햇빛 아래에서도 가독성 확보 (밝기 > 500 니트).
- 장기적인 공급 가능성 (5~10년).
권장 사항
- 대표적인 해상도 조합: 7인치 800×480, 10.1인치 1024×600.
- 인터페이스: RGB 또는 LVDS (노이즈 내성이 우수함).
- PPI: 100–120 (시야 거리 60–100 cm에 충분함).
1080p의 함정
일부 엔지니어들은 “해상도가 높을수록 좋다”는 이유로 10.1인치 화면에 1920×1080 해상도를 지정하기도 합니다. 그러나 60cm의 시청 거리에서는 사람의 눈이 약 150 PPI 이상의 해상도를 구분할 수 없습니다. 불필요한 픽셀은 호스트 비용, 전력 소비, EMI만 증가시킬 뿐, 눈에 띄는 이점은 전혀 없습니다.
4.3 자동차용 디스플레이 (대형, 고휘도, 뛰어난 신뢰성)
주요 제약 사항
- 허용 온도 범위: -40°C ~ +85°C.
- 진동 내성 (MIL‑STD 또는 ISO 16750).
- LVDS 인터페이스(자동차 업계 표준).
- 백라이트 수명이 매우 길다(50,000시간 이상).
트렌드
- 12.3인치 1920×720 해상도에서 15인치 이상의 4K 패널로 전환하지만, 이를 위해서는 고성능 GPU가 필요합니다.
- 곡면 디스플레이와 로컬 디밍 기술이 점점 보편화되고 있다.
권장 사항
- 중앙 인포테인먼트 시스템용: 8인치~10.25인치, 1280×800.
- 디지털 계기판의 경우: 12.3인치, 1920×720 (울트라와이드).
4.4 의료용 모니터 (중형, 고대비, DICOM 준수)
주요 제약 사항
- DICOM 파트 14 그레이스케일 표준.
- 휘도 안정성 (백라이트 피드백 센서).
- 눈부심 방지 / 반사 방지 표면.
권장 사항
- 크기: 휴대용 모니터의 경우 5인치~8인치, 진단용 워크스테이션의 경우 15인치 이상.
- 해상도: 800×600 (SVGA) 또는 1024×768 (XGA).
- 기술: 넓은 시야각과 정확한 색 재현을 위한 IPS 패널.
4.5 스마트 가전제품 (소형, 저가, 간편한 사용자 인터페이스)
주요 제약 사항
- 비용 – 디스플레이로 인해 BOM 비용이 두 배로 늘어나서는 안 됩니다.
- MCU 리소스 – 대개 소형 8비트 또는 32비트 ARM Cortex-M 칩입니다.
- 간단한 메뉴 또는 상태 표시.
권장 사항
- 크기: 2.4인치 – 3.5인치.
- 해상도: 320×240 (QVGA) 또는 480×272.
- 인터페이스: MCU(8080) 또는 SPI.
흔히 저지르는 실수
스마트폰에서 화질이 좋아 보인다는 이유로 480×800 MIPI 디스플레이를 사용했다가, 결국 MIPI DSI 호스트를 지원하는 고가의 MPU로 업그레이드해야만 하는 상황에 처하게 된다.
5부 – 흔히 저지르는 실수와 이를 피하는 방법
❌ 실수 1: 노트북 해상도를 작은 화면에 그대로 적용하기
1920×1080(141 PPI) 해상도의 15.6인치 노트북은 화면이 선명해 보입니다. 하지만 1920×1080 해상도의 7인치 패널 PPI가 315입니다. 일반적인 시청 거리에서는 글자가 매우 작아지고, Windows의 화면 확대/축소 기능이 제대로 작동하지 않으며, 호스트 프로세서의 부하가 심해집니다.
수정
7인치 화면의 경우 1280×800을 초과하지 마십시오. 5인치 화면의 경우 800×480 이하로 유지하십시오.
❌ 실수 2: 대각선 길이만 보고 화면 비율은 무시하는 것
5인치 4:3 화면은 5인치 16:9 화면(가로 약 110mm)과 비교해 유효 영역(가로 약 102mm)이 상당히 다릅니다. 한 쪽을 위해 설계된 UI 레이아웃은 다른 쪽에서는 화면 밖으로 넘칠 수 있습니다.
수정
항상 기계 도면을 요청하고 유효 영역의 너비와 높이를 확인하십시오.
❌ 실수 3: 제품군 전체에 걸쳐 서로 다른 해상도를 여러 개 사용하는 것
한 제품은 800×480을 사용하고, 다른 제품은 1024×600을, 또 다른 제품은 1280×720을 사용합니다. 소프트웨어 팀은 세 가지의 서로 다른 UI 레이아웃을 관리해야 하므로, 개발 및 테스트 시간이 늘어납니다.
수정
제품군별로 하나의 해상도를 표준으로 정하십시오. 다양한 화면 크기를 지원해야 하는 경우, UI를 확대·축소할 수 있는 디스플레이 컨트롤러를 사용하십시오.
❌ 실수 4: 신뢰성을 고려하지 않고 지나치게 높은 PPI만을 쫓는 것
진동이 발생하는 산업 환경에서는 (250 PPI 이상에 필요한) 극히 미세한 ITO 트레이스가 균열이나 접착 불량이 발생하기 쉽습니다.
설명
높은 PPI는 선폭 및 여백을 더 좁게 설계하고 본딩 피치를 더 촘촘하게 해야 합니다. 모든 모듈 제조사가 가혹한 환경에 적합한 이러한 패널을 안정적으로 생산할 수 있는 것은 아닙니다.
수정
산업용 애플리케이션의 경우, 검증된 모듈과 생산 시설이 없는 한 200 PPI 미만으로 유지하십시오.
❌ 실수 5: PPI가 높은 작은 화면에 터치 영역을 지나치게 작게 설계하는 것
5인치 1080p 화면(440 PPI)의 물리적 픽셀 크기는 매우 작지만, 50×50 픽셀 크기의 터치 버튼은 폭이 2.9mm에 불과할 수 있는데, 이는 손가락 터치에 권장되는 최소 폭인 7mm보다 훨씬 작은 수치입니다.
수정
다음 기준에 따라 터치 타깃을 디자인합니다. 물리적 크기, 픽셀 수는 아닙니다. 장갑을 낀 손가락의 경우 최소 7×7 mm, 맨손가락의 경우 최소 5×5 mm입니다.
결론 및 향후 계획
적절한 LCD 크기와 해상도를 선택하는 것은 시청 거리, UI의 복잡성, 호스트 성능, 비용 및 신뢰성 사이의 균형을 맞추는 과정입니다. 이 가이드에 수록된 결정표와 PPI 공식을 활용하여 선택지를 좁혀 보십시오.
이제 어떻게 해야 할까요?
✅ 무료 LCD 크기/해상도 선택 스프레드시트를 다운로드하세요 – 사용자의 시야 거리와 원하는 PPI를 입력하면, 당사의 표준 라이브러리에서 최적의 크기와 해상도 조합을 추천해 주는 엑셀 도구입니다.
✅ 아직도 확신이 안 서시나요? 신청서(산업용, 의료용, 자동차용 등)와 일반적인 시야 거리를 제출해 주십시오. JICLCD 엔지니어들이 48시간 이내에 최적의 구성안 3가지를 무료로 추천해 드립니다.
✅ 당사의 표준 제품 살펴보기 – 크기, 해상도, 인터페이스별로 필터링하여 원하는 사양에 맞는 디스플레이를 찾아보세요.